

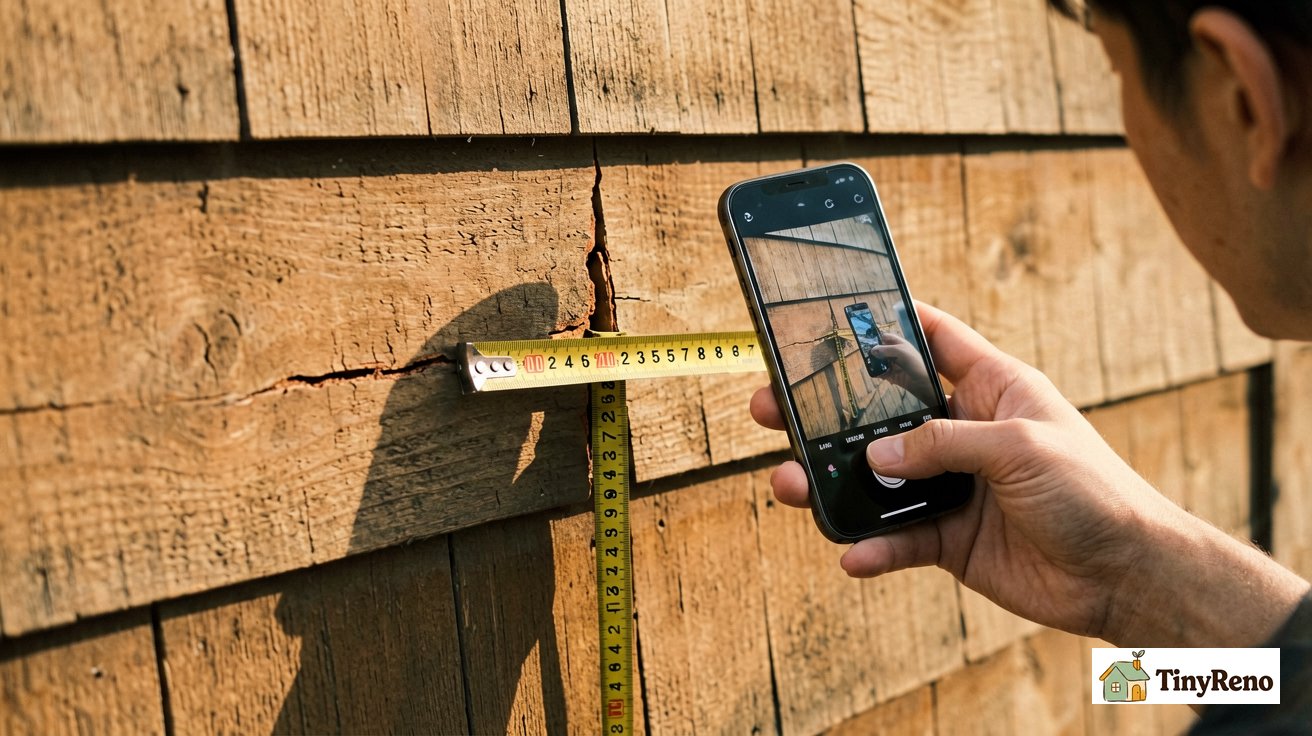
I noticed a 6-inch horizontal crack on the wood siding of my rental last fall, right above the back deck where rain splashes hardest. The landlord sent a contractor out the next week — the contractor replaced one full board and painted it for $420, which came out of my security deposit because the damage was "tenant-caused." I argued it was weather damage, not tenant damage. We settled on $260 after I read the lease more carefully. Here's what I learned about what a renter can fix, what a renter should never fix, and how to fix the cheap ones well enough to pass a move-out inspection.
The dispute wasn't just about the crack's length (6 inches is under the 12-inch DIY limit I cover below), but whether it constituted "tenant damage" versus normal wear-and-tear. The lesson: even if a repair is small enough to DIY, documenting its cause (weather, age, pre-existing) is just as critical as doing the repair well. Photos with timestamps before you touch anything saved me $160 of the disputed amount.
What "Wood Siding Repair" Means for a Renter (Not a Contractor)
When contractors say "wood siding repair," they mean replacing rotted boards, re-nailing loose courses, refinishing full walls, and matching wood species for seamless patches. When a renter says "wood siding repair," they mean small fixes that prevent further damage and pass a move-out inspection without costing $400. The two are not the same job.
A renter can legally repair (in most leases): cracks under 12 inches that haven't gone through to the sheathing, peeling paint on small areas, popped nails, small chips at edges, and minor gaps at trim joints. A renter cannot legally repair: rotted boards (the wood itself is soft), boards that pull away from the house, water intrusion that's reached the sheathing or interior wall, or damage covering more than about 2 square feet of a single board. Those are landlord territory — usually covered under the lease's "structural maintenance" clause, not tenant damage.
The split matters because if you fix something the landlord should have fixed and your fix fails, you own the failure. If you leave a rotted board and tell the landlord, they own it. Most leases put the responsibility on the landlord for any damage caused by weather, age, or structural issues. Read your lease's "damage responsibility" clause before touching anything — the language varies, and the wrong interpretation can cost you $400 at move-out like mine almost did.
Two things to photograph before you touch any siding. First, take a wide shot of the whole wall or siding area showing context. Second, take a close-up of the damage with something for scale (a coin or your hand). Photos with timestamps get uploaded to your phone's cloud within seconds — that's a paper trail that holds up in deposit disputes.
The 6 Wood Siding Fixes a Renter Actually Does
After two apartments with wood siding and one rental inspection that went badly, here are the six fixes that come up over and over. The first three are renter-doable with basic tools and $20-40 of materials. The last three are landlord territory — I'll explain why.
1. Hairline cracks under 12 inches (the $15 fix). The most common siding issue. Causes: seasonal expansion/contraction, minor settling, paint failure. Fill with exterior-grade, paintable wood filler (e.g., Minwax High Performance Wood Filler or DAP Plastic Wood-X) applied with a flexible putty knife. Let it cure 24 hours, sand smooth with 220-grit, prime with a high-quality exterior 100% acrylic latex primer (Zinsser Bulls Eye 1-2-3 Exterior or Kilz Premium work well), paint with two coats of exterior house paint matched to your existing color. Total materials cost: $15-25. Time: 2-3 hours across two days for the cure.
2. Peeling paint on small areas (the $30 fix). Where paint has lifted off the siding in patches under 12 inches across. Causes: paint failure (cheap paint, no primer), moisture intrusion, age. Scrape all loose paint with a wire brush or paint scraper. Sand the edges of the remaining paint smooth (180-grit). Spot-prime bare wood with exterior 100% acrylic latex primer. Paint with two coats of matching exterior house paint. Total materials: $25-40. Time: 4-6 hours spread over 3 days.
3. Small chips and dents at edges (the $10 fix). Chips at corners of boards, dents from lawn equipment or hail, popped nail heads where the paint has cracked around the nail. Pop the nail slightly with a hammer, set it just below the wood surface with a nail set, fill the hole and the chip with exterior wood filler, sand, prime, paint. Total materials: $8-15 if you already have filler and primer.
4. Boards pulling away from the house — landlord. This is structural movement, not surface damage. If a board is no longer flush against the sheathing or you can see daylight behind it, the house is moving or the board has failed. Don't nail it back — you may damage the house wrap (the moisture barrier behind the siding) and create a water intrusion path. Call the landlord. Temporary Renter Fix: While waiting for the landlord's repair crew, you can apply a heavy-duty exterior-grade waterproof tape (Nashua 322 Multi-Purpose HVAC Tape, found at any hardware store for about $8) over the gap as a temporary moisture barrier. This is a non-invasive, fully reversible measure that demonstrates responsible tenancy without risking structural damage. Remove the tape when the landlord's crew arrives so they can see the full extent of the issue.
5. Soft or rotted wood — landlord. Press the suspected area with a screwdriver. If the wood gives, it's rotted. Rotted siding means water has been getting behind the paint film for months or years. The landlord needs to cut out the rotted section, inspect the house wrap and sheathing underneath, replace the wood, and repaint the whole wall section to match. This is a $400-800 job and not your responsibility. If you spot mold growth on the rotted section before the landlord arrives, see our step-by-step on mold cleanup on sheetrock for safe containment, but the structural repair itself is not your job.
6. Water stains that bleed through from inside — landlord. Stains that appear on the siding from inside the wall (not from outside splash-back) mean a roof leak, plumbing leak, or window flashing failure. The siding is the symptom, not the problem. Don't paint over it — the leak will continue and the landlord will see the new paint when they investigate. Call.
Which Wood Siding Fix for Which Damage (Decision Table)
Before you buy materials, match the damage to the right fix. The wrong fix wastes money and fails within months.
Hairline cracks under 1/8 inch wide, under 12 inches long. Use flexible exterior wood filler. Don't use caulk — it shrinks, doesn't sand smooth, and looks obvious in a paint finish. Don't use epoxy — overkill for hairline cracks, and it doesn't flex with seasonal movement.
Cracks 1/8 to 1/4 inch wide, any length. Use exterior silicone or polyurethane caulk (not acrylic latex — it shrinks). Push the caulk into the crack with a putty knife, smooth it flush with the wood, let cure 24 hours, prime, paint. This is the only situation where caulk is the right answer on siding.
Cracks wider than 1/4 inch or longer than 12 inches. Landlord territory. The board is moving or has failed, and filler won't hold long-term. Document with photos and a maintenance request.
Peeling paint in sheets. Critical Safety Warning: If your rental was built before 1978, assume the paint is lead-based until tested. Use a 3M LeadCheck swab ($8) to confirm. If positive, DO NOT SCRAPE OR SAND. Disturbing lead paint creates toxic dust that causes permanent neurological damage, especially in children and pregnant women. This is not a DIY job — it requires an EPA RRP-certified professional under the Renovation, Repair, and Painting Rule (40 CFR Part 745). Notify your landlord in writing immediately and request they hire a certified contractor. Your health and legal protection are more important than a paint patch. If the test is negative and the peeling area is under 12 inches across, scrape, prime, paint as described above.
Discoloration (dark streaks, mildew, water marks). Mildew wipes off with a 1:3 bleach-water solution and a soft brush. Water marks from splash-back or a leaking gutter need the gutter fixed and the area repainted — surface cleaning won't last. Discoloration that bleeds from the inside is the "landlord" case above.
Holes from removed fixtures (downspouts, hooks, lights). Pull the fastener, fill the hole with exterior wood filler, sand, prime, paint. If the hole is bigger than 1/2 inch, plug it with a small piece of matching wood cut to fit, glue with exterior construction adhesive, then fill any remaining gap.
The most expensive mistake is using interior products on exterior siding. Interior wood filler absorbs water and fails within months. Interior caulk doesn't flex enough for outdoor temperature swings. Exterior-grade costs about $3 more per tube — that $3 buys 5 years of life.
How to Do the 2 Most Common Fixes (Caulk + Fill)
Two operations cover 80% of renter wood siding repairs. Here's how to do them well enough to pass an inspection.
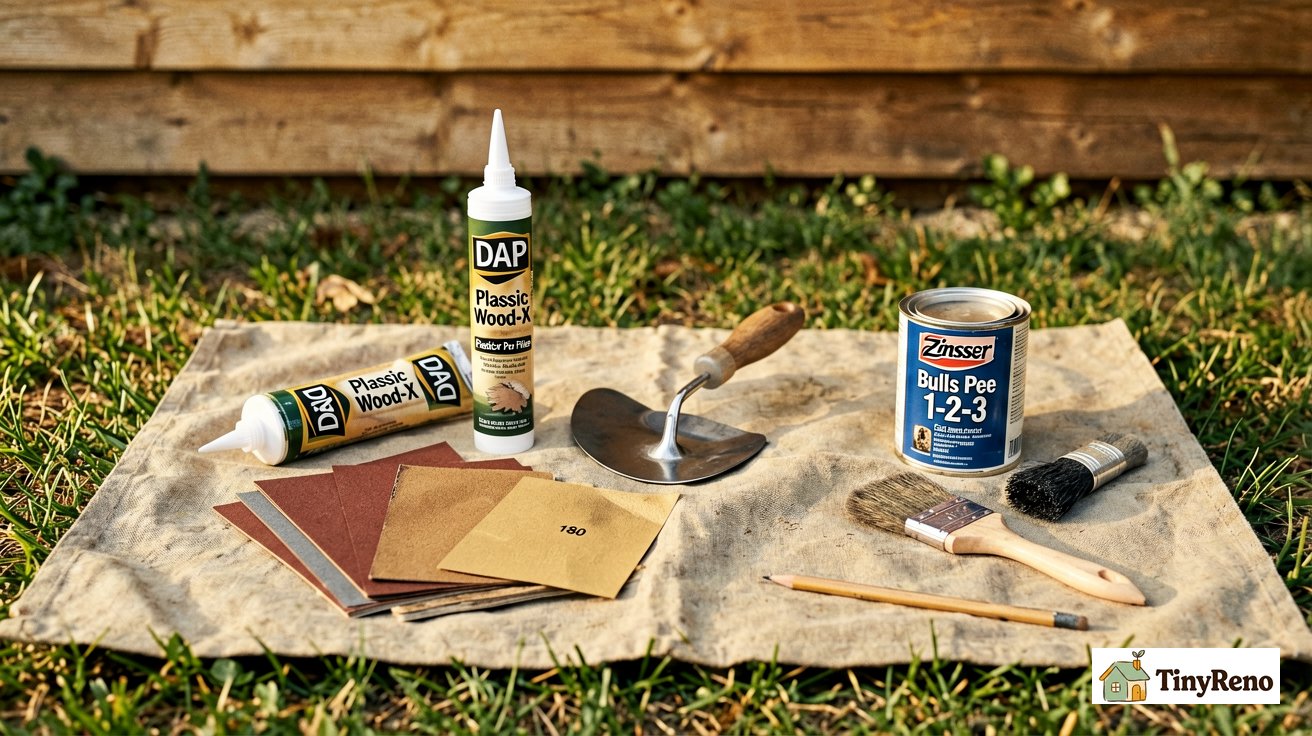
Fix A: Filling a hairline crack. Tools: exterior-grade, paintable wood filler (DAP Plastic Wood-X or Minwax High Performance Wood Filler), flexible putty knife (1-inch or 1.5-inch), 180-grit and 220-grit sandpaper, exterior 100% acrylic latex primer (Zinsser Bulls Eye 1-2-3 Exterior or Kilz Premium), small paint brush, exterior house paint matched to your color.
Step 1. Widen the crack slightly with the corner of the putty knife. Hairline cracks often look closed but have a thin paint bridge covering a wider gap. Cutting the bridge lets the filler reach the bottom of the crack.
Step 2. Press the filler into the crack with the putty knife, held at 45 degrees. Push firmly so the filler packs into the gap with no air pockets. Overfill slightly — the filler shrinks as it cures.
Step 3. Let it cure per the label — usually 2-4 hours for shallow fills, 24 hours for deep fills. The label will say "ready to sand" — trust that. The cure time matters because filler that's not fully cured sands gummy, doesn't take primer evenly, and shrinks visibly after the topcoat goes on. For a deeper breakdown of why patience beats speed on patches like this, see our guide to spackle dry time by surface — the same 24-hour cure rule applies to exterior wood filler.
Step 4. Sand flush — first with 180-grit to knock down the overfill, then finish with 220-grit for a paint-ready surface. Sand with the wood grain, not across it. The goal is to remove the excess filler and bring the surface level with the surrounding wood. Sanding sponges work better than flat sandpaper for contoured siding like clapboard or shingle profiles.
Step 5. Prime with a high-quality exterior 100% acrylic latex primer (Zinsser Bulls Eye 1-2-3 Exterior or Kilz Premium). While oil-based primers were traditionally used, modern acrylic latex primers offer excellent adhesion, flexibility to handle seasonal wood movement, and lower VOCs — and they're easier to clean up. Oil-based is still an option for particularly tannin-rich woods (cedar, redwood) or severe staining, but acrylic is the recommended standard for most renter repairs. This step is not optional. Paint alone over filler will flash through (show as a duller spot) within months. The primer seals the filler and creates a uniform surface for the topcoat. Let the primer cure 24 hours.
Step 6. Paint with two coats of exterior house paint, letting each coat dry per the label (usually 4-6 hours). Brush the paint on rather than spraying — brushed paint works into the wood grain and lasts longer.
The full fix takes 3 days because of the cure times, but the actual hands-on work is about 90 minutes total.
Fix B: Sealing a 1/8 to 1/4 inch crack. Tools: exterior polyurethane or pure silicone caulk (NOT acrylic latex), caulk gun, utility knife, painter's tape, damp rag, the same 100% acrylic latex primer and paint as Fix A.
Step 1. Cut the caulk tube tip at a 45-degree angle, hole about 3/16 inch wide. Puncture the inner seal with the breaker tool on the caulk gun.
Step 2. Tape both sides of the crack with painter's tape, leaving about 1/4 inch of wood exposed on either side of the crack. The tape gives you clean straight edges without having to razor-blade the caulk later.
Step 3. Run a continuous bead of caulk into the crack. Don't worry about overfilling — you'll tool it in the next step.
Step 4. Smooth the bead with a wet finger or the back of a plastic spoon held at 30 degrees. Push the caulk firmly into the crack so it makes full contact with the wood on both sides. Wipe excess off your finger with the damp rag.
Step 5. Pull the tape while the caulk is still wet, at a 45-degree angle away from the line. Clean up any smeared caulk with the damp rag before it cures.
Step 6. Let cure 24 hours, then prime and paint the same way as Fix A.
The 90/90 rule: 90% of renter siding repair failures come from skipping the primer step or using interior caulk/filler on exterior wood. The fix itself is straightforward. The materials choice is what makes it last.
The 3 Mistakes That Make Wood Siding Look Worse
These are the three things I see consistently on inspection day — patches that are obviously patches, paint that doesn't match, and moisture that's been trapped and is now bubbling under the new paint.
1. Color matching that doesn't actually match. Most paint stores can color-match a chip you bring in. The chip should be at least 1 inch square and scraped from an area that's not faded by direct sun (the back of the house, an overhang, or a north-facing wall). Faded siding has a chalky surface film that throws off color matching — wipe the area with a damp rag before scraping the chip. Even with a good match, the new paint will look brighter than the surrounding 5-year-old paint for the first year, then blend as the surrounding paint fades.
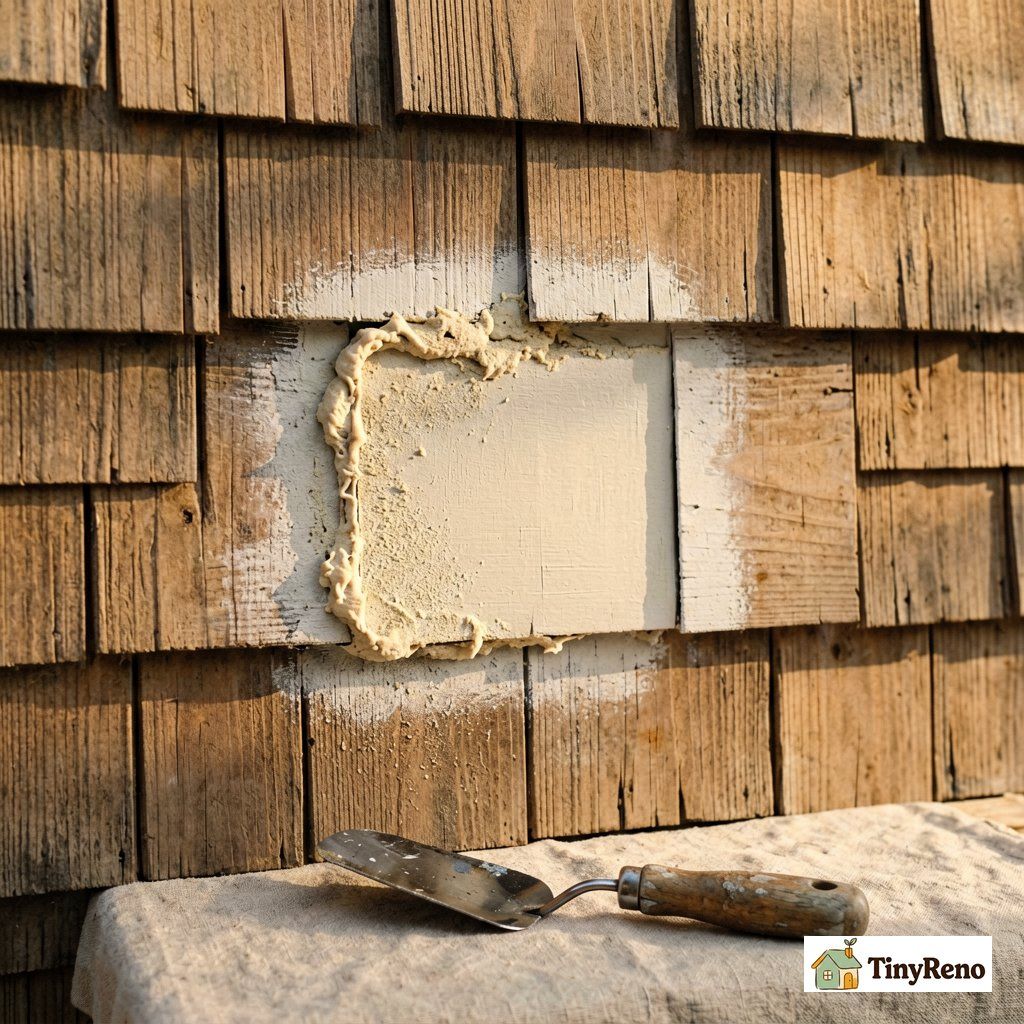
2. Skipping primer over the patch. This is the mistake I made the first time and watched the patch flash through the paint within 4 months. Filler absorbs paint differently than the surrounding wood, and without primer the patch looks like a duller rectangle in any light. The primer step is the difference between "invisible patch" and "obvious patch." It also seals the filler so it doesn't absorb moisture from the back side and fail.
3. Painting over wet or uncured filler. Most exterior fillers need 24 hours to fully cure. Painting over uncured filler traps moisture underneath, which then bubbles the new paint within weeks. The bubble looks like a paint defect but is actually moisture trying to escape. The fix is to cut out the bubbled paint, let the filler fully cure (you may have to wait weeks), and redo. Don't rush the cure. If the weather is humid, add 12 hours to the cure time the label lists.
If your repair doesn't blend after 6 months, the most likely cause is one of these three. Re-do with the missing step and it disappears.


Discussion (0)
Sign in to join the discussion